The Ultimate Guide to Hand-Building Pottery for Beginners
Introduction:
Did you know that hand-building is one of the oldest pottery methods, dating back thousands of years? It’s a technique that connects us with ancient artisans, using our hands to shape and mold clay just as they did. And the best part? You don’t need a fancy wheel or studio to get started. Hand-building is flexible, beginner-friendly, and opens up a whole world of creativity without a huge investment.
In this guide, we’ll walk through hand-building techniques, must have tools, and the tips and tricks you’ll need to craft your first pottery piece. Ready to get your hands dirty and create something truly unique? Let’s dive in!
What is Hand-Building Pottery?
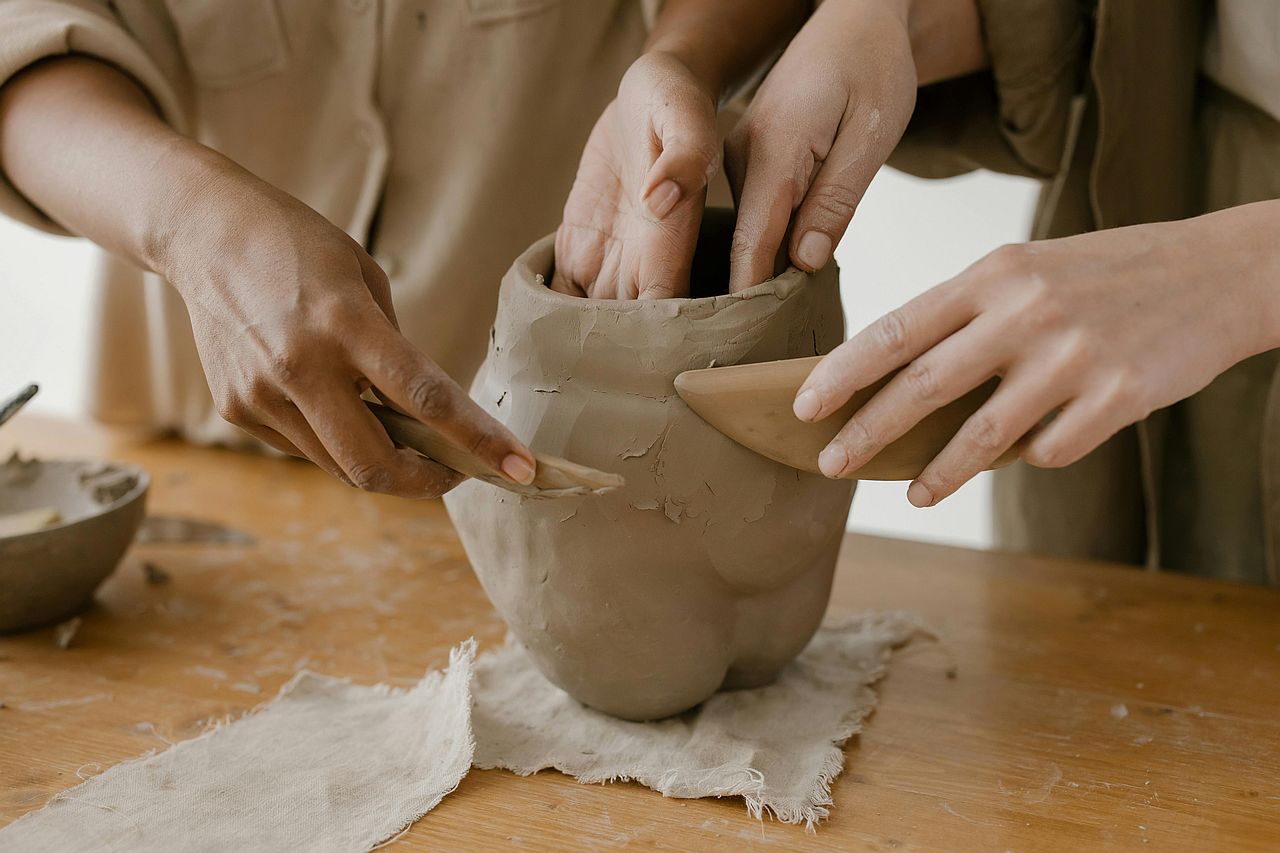
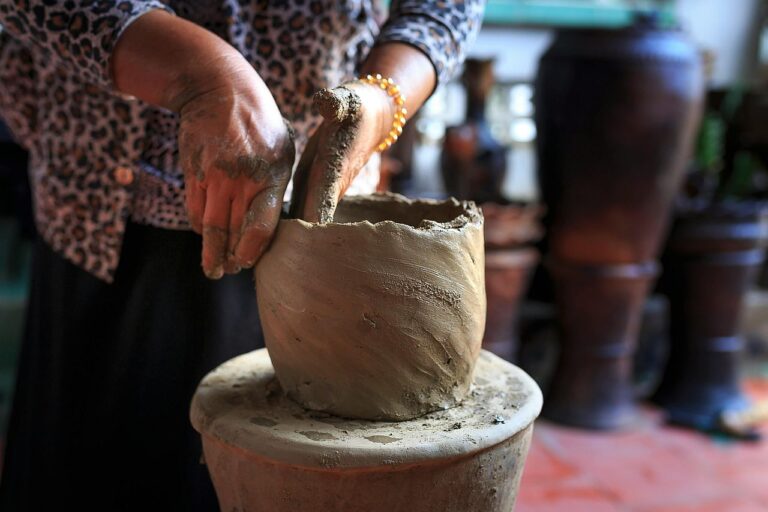
Hand-building pottery is the process of shaping clay by hand without the use of a pottery wheel. Unlike wheel throwing, which relies on spinning clay into symmetrical forms, hand-building allows for more natural and organic shapes, making it ideal for beginners who want to experiment and explore.
This technique has deep roots, stretching back to ancient civilizations where hand-building was a primary method for creating functional and decorative pottery. For beginners, hand-building offers an easy and accessible entry into pottery without requiring specialized equipment.
Hand-building is perfect if you’re just starting out and want to focus on creativity, experimentation, and learning the basics of clay. And the best part? You can practice hand-building from home with a small workspace, some basic tools, and, of course, clay!
Essential Hand-Building Pottery Techniques
Pinch Pot Technique
The pinch pot method is likely the simplest way to hand-build pottery, and it’s perfect for beginners. Start by rolling a small ball of clay, about the size of a lemon, and press your thumb into the center to create an indentation. From there, use your fingers to pinch the clay, slowly rotating and thinning the walls as you shape your pot.
Coil Building Technique
I’ll be honest; when I first tried making a pinch pot, my thumb went right through the base! It’s all about finding a gentle balance. Aim for even thickness around the edges, and don’t worry if it’s not perfect, the slight variations add character.
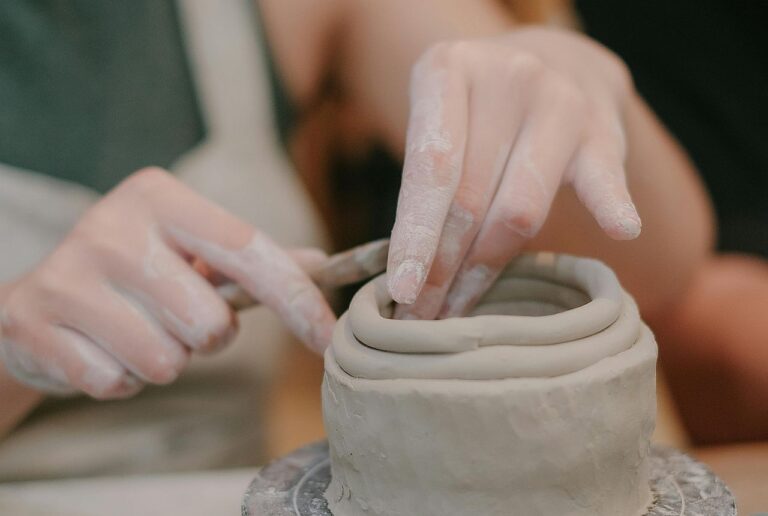
Coil building is a bit like stacking rings, but with clay! Start by rolling out thin, even coils of clay. Place the first coil in a spiral to form the base, then stack additional coils on top, blending them into each other as you go. This method is fantastic for making taller pieces, like vases or planters.
A tip from my own trial-and-error phase: keep a small damp sponge nearby. As you stack each coil, give it a gentle press with the sponge to help secure it and prevent cracking. Coils can get a little wobbly, so it’s normal to have to adjust as you go!
Slab Building Technique
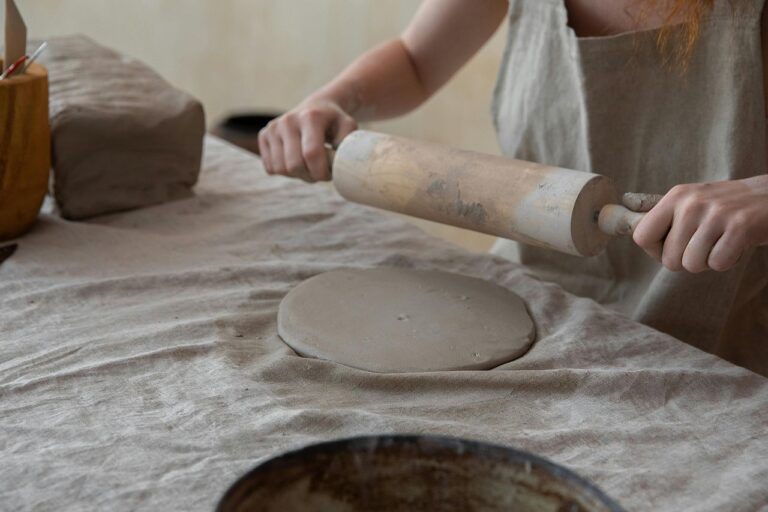
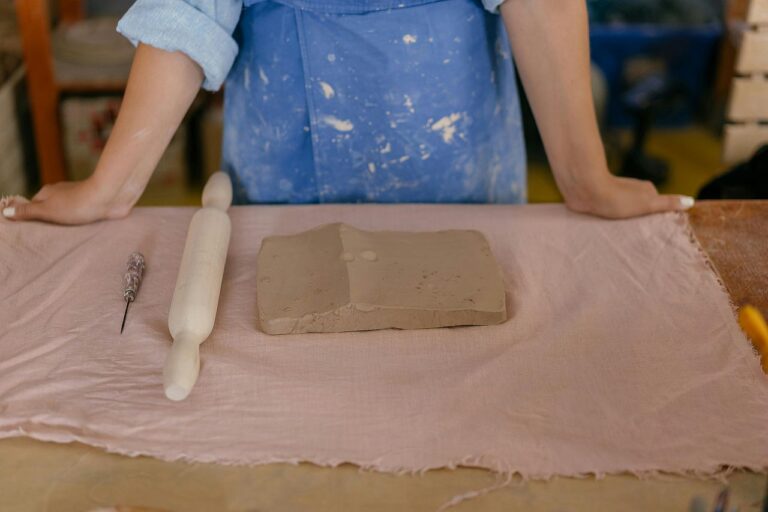
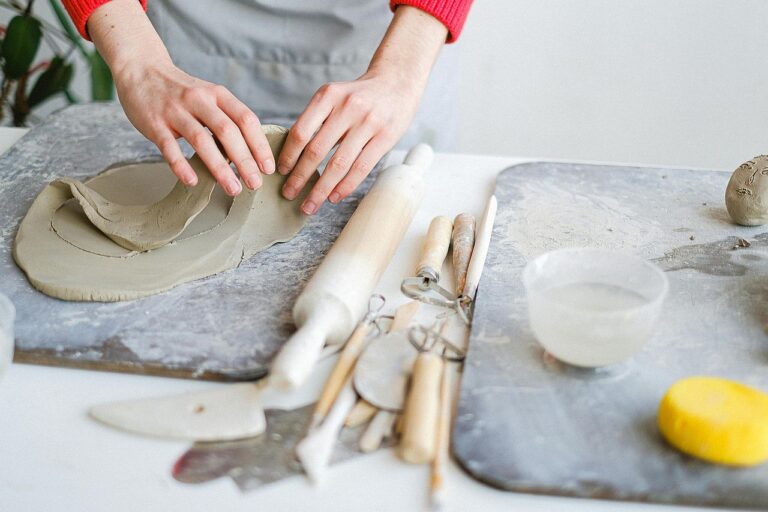
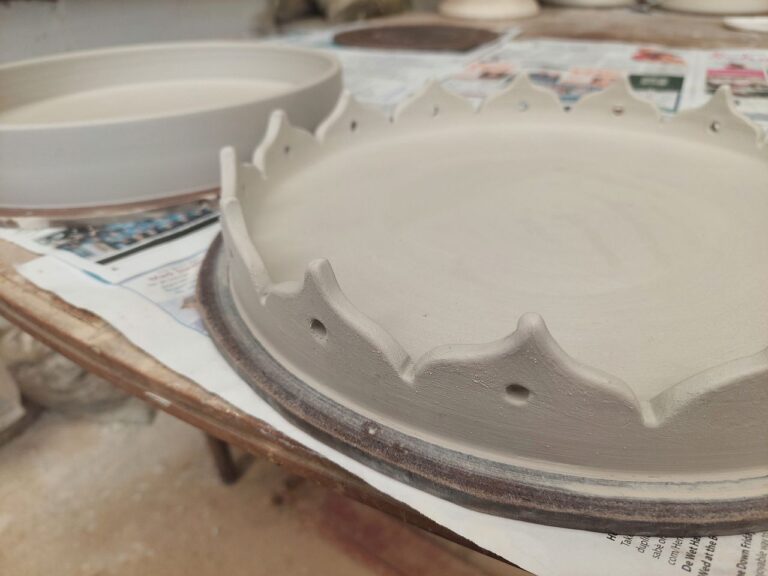
Slab building requires you to flatten clay into slabs, cut them into shapes, and assemble them like a puzzle. A rolling pin is very good in order to create a consistent thickness, then cut shapes to form the walls, base, and other parts of your pottery piece.
Here’s where I’ve had my fair share of wonky bowls! To get smooth edges, try using a damp sponge or a pottery rib to refine each slab before joining. Slip (a mixture of clay and water) works as “pottery glue” to join pieces. With practice, you’ll find the best way to keep those walls sturdy.
Choosing the Right Clay for Hand-Building
When it comes to clay, not all types are created equal, especially for beginners. Here’s a quick rundown:
- Earthenware: Ideal for beginners, as it’s forgiving and easy to shape. It fires at a lower temperature, which means you can work with simpler firing options, like a basic kiln.
- Stoneware: More durable and less prone to chipping, but it requires a higher firing temperature. Great for functional pieces like plates or mugs.
- Porcelain: Known for its delicate appearance, porcelain can be challenging due to its fine texture. I recommend leaving this one until you feel more comfortable with clay.
If you’re working without a kiln, try air-dry clay for non-functional pieces. Just remember it’s not waterproof, so these pieces are best for decorative purposes.
Essential Tools for Hand-Building Pottery
You don’t need a ton of tools to get started with hand-building. Here are some basics that make the process easier:
- Pottery Ribs: Used for smoothing and shaping clay. You’ll find them in wood, rubber, and metal – each creates a slightly different finish.
- Needle Tool: Perfect for scoring clay when joining pieces or trimming excess.
- Clay Knife: Great for cutting shapes and trimming.
- Sponge: Keeps the clay hydrated and helps smooth out surfaces.
- Rolling Pin: Essential for slab building; just make sure it’s only for pottery, not baking!
When I first started, I tried using some random kitchen tools, but nothing beats the convenience of these pottery specific tools. If you’re on a budget, look for a starter kit with these basics.
Common Hand-Building Challenges and How to Overcome Them
Preventing Cracks in Pottery
Cracks can be frustrating but are super common, especially if the clay dries too quickly. A tip? Cover your piece with a damp cloth or plastic bag as it dries slowly and evenly. If cracks appear, use a bit of slip to smooth them out.
Keeping Pottery from Collapsing
If your piece starts to droop or lose shape, it could be a sign the clay is too wet. Give it a bit of time to firm up (known as “leather-hard” stage) before you continue working.
Achieving Smooth Surfaces and Even Thickness
For that polished look, try using a damp sponge or rib tool to go over the surface. This step makes a huge difference, especially if you plan to glaze later. Keep an eye on the thickness as you go; uneven areas tend to crack during drying or firing.
How to Finish and Glaze Hand-Built Pottery
Glazing is where pottery transforms! Here are some techniques to try:
- Dipping: Easy for beginners; just dunk your piece in glaze. Be careful not to overdo it, as thick glaze can lead to drips.
- Brushing: Perfect for adding details. Use a soft brush and apply in even coats.
- Alternative Finishes: If you don’t have a kiln, try acrylic paints or varnishes for a decorative finish. These won’t be food-safe, but they’re great for decorative items!
Final Tips for Hand-Building Pottery Success
- Be patient – pottery is a slow art. Allow yourself time to practice.
- Experiment with shapes and textures! Hand-building gives you the freedom to explore unique designs.
- If you’re serious about learning, consider taking a pottery class to master the basics.
Conclusion:
Hand-building pottery is an art form that’s as rewarding as it is challenging. Whether your pieces turn out as planned or you make a few happy accidents along the way, enjoy the process. The beauty of hand-building lies in its imperfections, each piece tells a story. Now it’s your turn: grab some clay, get creative, and let your hands do the talking.

