How to Decorate Hand-Built Pottery
Introduction
You’ve hand-built a beautiful piece of pottery now it’s time to decorate it! The decoration process is where your personality and creativity can shine. From intricate carvings to bold glazes, there are endless ways to bring your pottery to life. Whether you’re working with air dry clay or planning to fire your piece in a kiln, this guide will introduce you to several fun and beginner friendly techniques for decorating hand-built pottery.
Why Decorating Hand-Built Pottery Matters
Decorating isn’t just about looks, it’s also about creating a tactile experience. A well decorated piece can tell a story, evoke a mood, or enhance functionality. The techniques you choose can also make your pottery stand out, whether it’s a simple pinch pot or an elaborate slab built design.
Step-by-Step Guide to Decorating Hand-Built Pottery
Step 1: Prepare Your Surface
The first step in decorating your pottery is ensuring the surface is ready:
- For wet clay, smooth out any uneven surfaces using a damp sponge or a rib tool. This helps create a clean slate for carving or texturing.
- For dry clay, gently sand the surface with fine grit sandpaper to remove imperfections.
- If your pottery is bisque-fired (pre fired in a kiln), clean it with a damp cloth to remove dust before glazing or painting.
Step 2: Choose a Decoration Technique
Here are some popular techniques to decorate hand-built pottery:
1. Carving (Sgraffito)
Carving into the clay is a fantastic way to add texture and depth to your pottery.
- How to Do It:
- Use carving tools or even household items like toothpicks or forks.
- For detailed designs, apply a layer of slip (colored clay) over your piece and carve through the slip to reveal the clay underneath (this is called sgraffito).
- Best Time to Carve: When the clay is leather hard (firm but slightly pliable), carving is easier and produces cleaner lines.
2. Stamping and Imprinting
This method is perfect for adding patterns or repeating designs to your pottery.
- How to Do It:
- Use stamps, lace, leaves, or textured objects to press into the clay while it’s still wet.
- You can even create your own custom stamps with scrap clay!
- Best Use: Ideal for borders, backgrounds, or all-over textures.
3. Slip Decoration
Slip is a liquid form of clay that can be used to add color and texture.
- How to Use Slip:
- Paint it on your pottery with a brush, or drizzle it for abstract designs.
- Layer different colors of slip and then scratch through them for added interest.
- Pro Tip: Try using a slip trailer (a small bottle with a nozzle) to draw fine lines and patterns.
4. Painting with Underglazes
Underglazes are colored decorations that go on before a final clear glaze.
- How to Apply:
- Use a brush, sponge, or stencil to apply the underglaze to leather hard, dry, or bisque fired pottery.
- You can layer colors, blend them, or create intricate patterns.
- Bonus: Underglazes stay true to their colors after firing, making them perfect for detailed designs.
5. Texturing with Tools
Texturing is a quick and fun way to add interest to your pottery.
- Tools to Try:
- Forks, combs, toothbrushes, and shells create unique textures.
- Use a potter’s rib for smooth, flowing lines or a serrated rib for sharp textures.
- When to Texture: Apply textures when the clay is still soft but holds its shape.
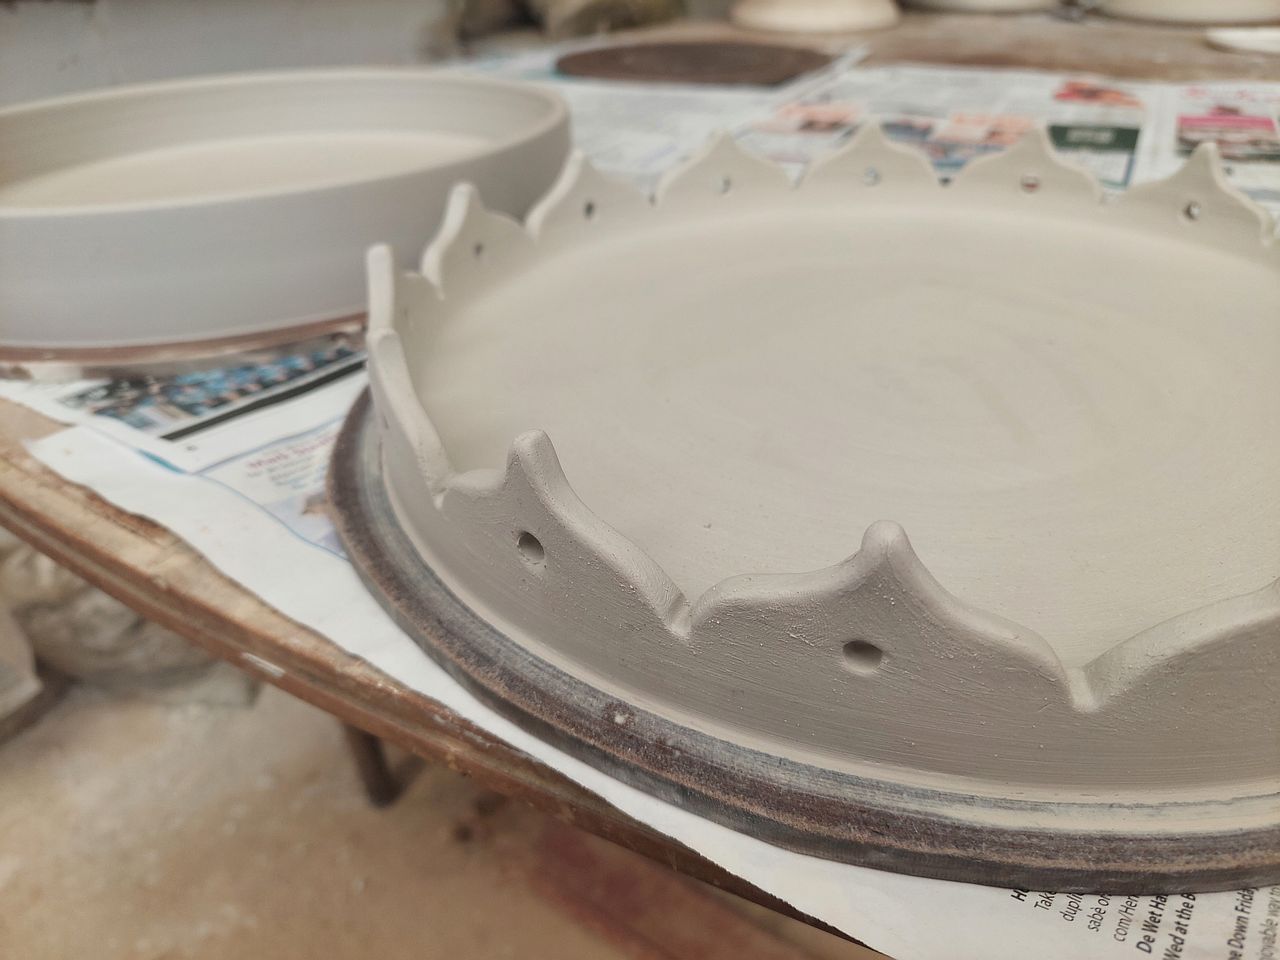
6. Adding Handles or Decorative Elements
Enhance your pottery by adding clay shapes, handles, or appliqués.
- How to Attach:
- Roll small coils or slabs of clay and score and slip them to attach.
- Add details like leaves, flowers, or geometric shapes for a 3D effect.
- Pro Tip: Make sure to smooth the edges where the clay pieces meet for a seamless look.
Step 3: Firing or Finishing Your Piece
If you’re firing your pottery, you can decorate with glaze after the bisque firing. For air dry clay, move straight to painting and sealing.
Glazing
Glazes are liquid coatings that add color, shine, and durability.
- How to Apply:
- Dip, brush, or pour the glaze onto your bisque fired pottery.
- Use wax resist to block areas from being glazed for a unique, two toned look.
- Kiln Needed: Glazing requires a kiln to properly fire and set the finish.
Painting Air-Dry Clay
For pottery that won’t be fired, painting is a great way to add color.
- Best Paints: Acrylic paints work well on air-dry clay. For a shiny finish, add a layer of gloss varnish.
- Fun Ideas: Create watercolor effects by thinning your paint with water, or use metallics for an eye catching shimmer.
Sealing for Durability
Seal air dry pottery with a clear varnish or Mod Podge to protect it from moisture and wear.
Step 4: Experiment and Find Your Style
Decorating pottery is all about experimenting to find techniques you love. Combine carving with painting, add textures to stamped designs, or create layers of color and pattern. Each piece is an opportunity to express your creativity.
Common Decoration Challenges and How to Solve Them
- Clay Cracks During Carving: If the clay is too dry, lightly mist it with water before carving.
- Paint Doesn’t Stick: Ensure your piece is clean and free from dust before painting or glazing.
- Uneven Glaze Coverage: Apply multiple thin coats rather than one thick coat for a smooth, even finish.
Conclusion
Decorating hand-built pottery is where the magic happens. With techniques like carving, painting, stamping, and glazing, you can transform simple clay shapes into stunning, unique works of art. Don’t be afraid to experiment and try new ideas, every piece you create is an opportunity to learn and grow as a potter. So grab your tools, let your creativity flow, and enjoy bringing your pottery to life!

