How to Hand-Build Pottery at Home Without a Kiln
Introduction
You don’t need a kiln to get started with pottery! Hand-building pottery at home can be just as rewarding, with creative techniques that don’t rely on a pottery wheel or specialized kiln equipment. Hand-building lets you shape clay with your hands, so whether you want to try out pottery as a new hobby or create beautiful, functional pieces, it’s possible to achieve great results at home. This guide will walk you through the essentials of hand-building pottery, from techniques to alternative firing methods.
Materials Needed for Hand-Building Pottery at Home
Getting started with hand-building pottery requires just a few basic materials:
- Clay: Choose either air dry clay, which doesn’t require firing, or a low fire clay that can withstand alternative firing techniques, like pit or raku clay.
- Surface Mat: A nonstick mat or a piece of canvas to prevent the clay from sticking.
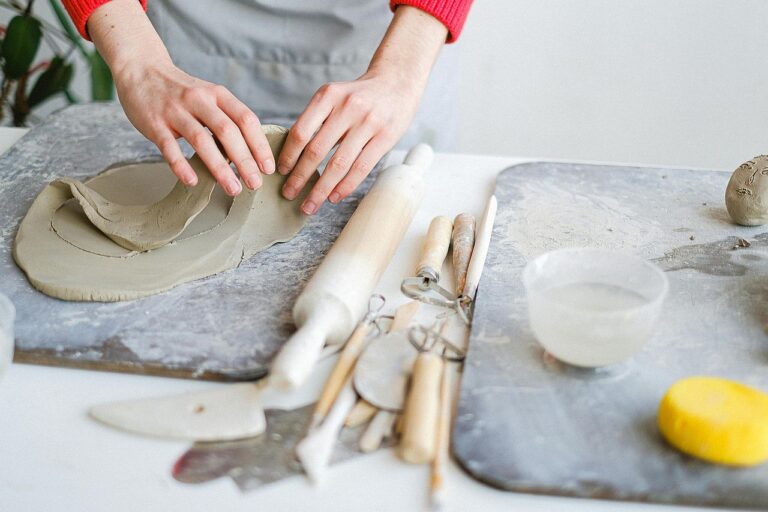
- Basic Pottery Tools: Simple tools like a rib tool, sponge, knife, and rolling pin. If you don’t have pottery tools, kitchen items (like spoons or butter knives) work well for shaping.
- Slip: This is a mixture of clay and water used like glue to join clay pieces together.
Step-by-Step Guide to Hand-Building Pottery
Step 1: Prepare Your Clay
Start by kneading or “wedging” your clay. This helps get rid of air bubbles and makes it easier to shape. Knead it like bread dough until it’s smooth and even. This part is essential, especially if you’re using clay that will be fired later on.
Step 2: Choose a Hand-Building Technique
There are three popular hand-building techniques, each bringing its own unique style and shape to your pieces.
- Pinch Pot: Begin with a small ball of clay. Press your thumb into the center and use your fingers to pinch and rotate the clay, slowly widening the opening and thinning the walls. This is perfect for making small bowls or cups.
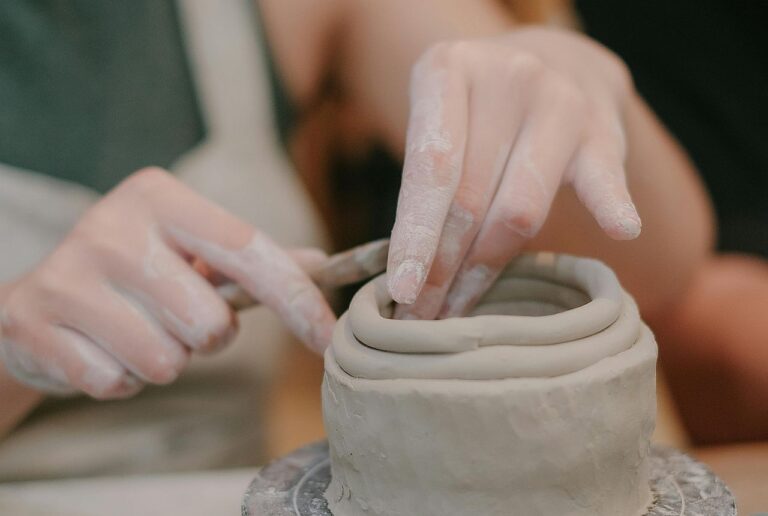
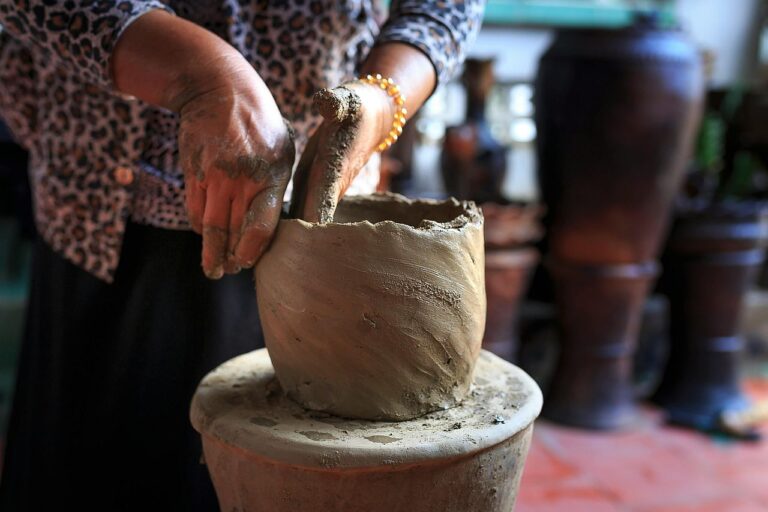
- Coil Pot: Roll out long, thin coils of clay. Place one coil on top of the other to build up walls, creating bowls, vases, or larger pots. You can leave the coils visible for texture or smooth them out for a seamless look.
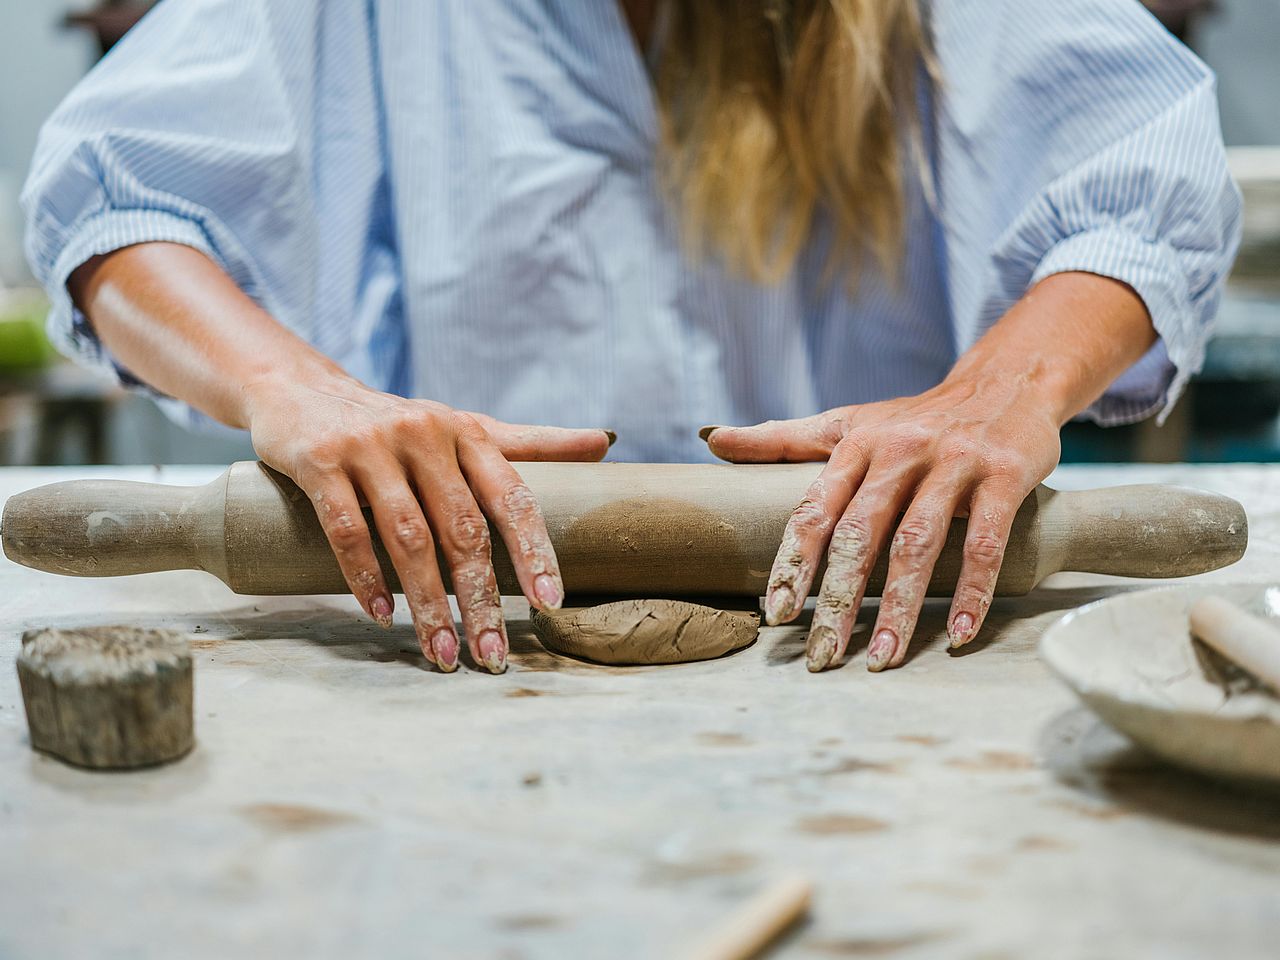
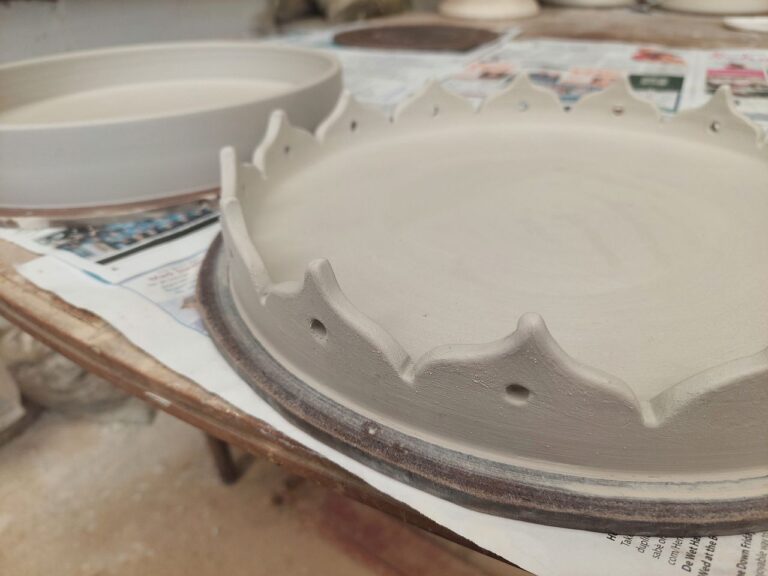
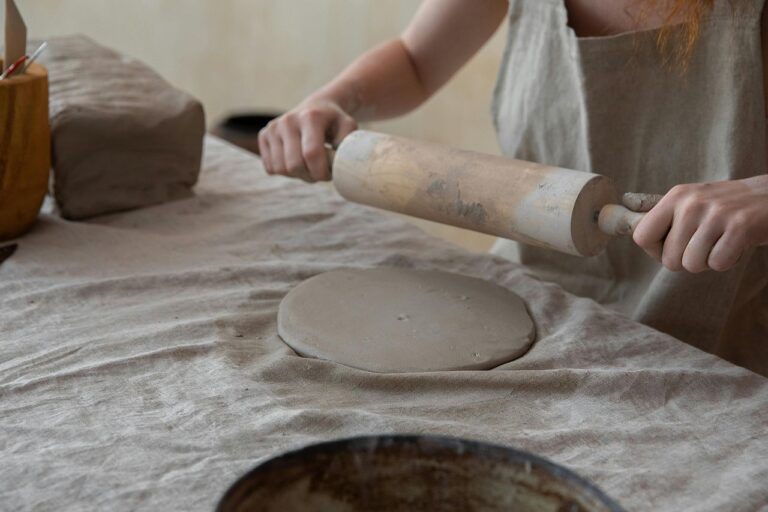
- Slab Building: Roll out flat pieces of clay like you would cookie dough. Cut them into shapes, then assemble these shapes to create boxes, trays, or more structured pieces. Slip and score the edges to join the slabs firmly.
Each technique can be combined with the others, so don’t hesitate to mix it up and get creative!
Step 3: Shape Your Pottery
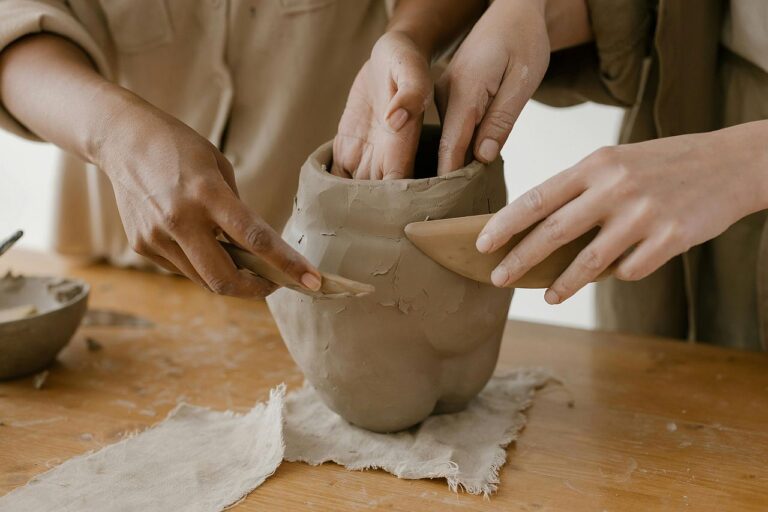
Now it’s time to shape your piece. Use your hands and tools to create smooth or textured surfaces, and shape it to your liking. To smooth the surface, gently run a damp sponge or a rib tool over it. Keep water handy but use it sparingly to avoid making the clay too soft.
Step 4: Join Clay Pieces Using Slip
If you want to add handles or combine pieces, use slip. First, score the surfaces by scratching up both pieces of clay that you want to join, then add slip as an adhesive. Press the pieces together firmly and blend the edges to make sure they hold.
Drying Your Pottery
Drying pottery slowly is crucial for preventing cracks. When you finish shaping your piece, place it in a cool, dry spot. Cover it loosely with plastic for the first day or two to help it dry gradually. After that, let it sit uncovered until it feels fully dry. For larger pieces, the drying process can take a week or more.
Alternative Firing Techniques for Pottery Without a Kiln
Once your piece is completely dry, it’s ready to be hardened. While a kiln is the ideal method, here are two alternative ways to fire pottery at home:
1. Air-Drying Clay
Air dry clay is a fantastic choice if you don’t have access to firing equipment. It hardens as it dries and doesn’t require firing. While it may not be as durable as kiln-fired clay, air dry clay is ideal for decorative items. Once dry, you can paint and seal it with acrylic varnish for added strength.
2. Pit Firing
Pit firing is a centuries old technique and works well for low fire clay. To pit-fire:
- Dig a hole in a safe, open area, about 1-2 feet deep.
- Line the pit with sawdust or dry wood shavings.
- Place your dried pottery carefully in the pit, surrounded by more wood.
- Cover the pit with a metal grate or lid, then light the fire. Let it burn for several hours until the fire naturally goes out.
- Once completely cooled, carefully dig out your pottery.
Pit firing produces natural, earthy colors and can give unique effects on your pottery’s surface.
3. Raku Firing (for More Advanced Pieces)
Raku firing requires a bit more equipment but can be done with a small outdoor kiln or converted metal container:
- Place your dried pottery in a raku kiln and heat until it reaches around 1,650°F (900°C).
- Remove the pottery with tongs while it’s still red hot and place it in a container filled with combustible materials like newspaper or sawdust.
- Cover the container, which lets the materials smolder and creates unique, smoky patterns on the pottery.
- Let the pottery cool, then rinse it to reveal the finished surface.
Safety Tip: Always follow fire safety protocols when pit or raku firing and keep a fire extinguisher nearby.
Painting and Sealing Your Pottery
After firing (or drying, in the case of air-dry clay), you can decorate your pottery with paints, glazes, or finishes.
- Acrylic Paints: Perfect for air-dry clay or low fire pieces. Acrylics come in a wide range of colors and can be sealed with a clear varnish for added protection.
- Wax or Linseed Oil Finish: For a rustic look, rub a small amount of wax or oil on your piece after pit or raku firing.
- DIY Glaze: You can experiment with glazing if you have access to a small kiln. Most commercial glazes require a high firing temperature, but some low-fire glazes are suitable for home firing methods.
Note: Avoid painting or sealing areas that will come into contact with food, as most home finishes aren’t food-safe.
Tips for Successful Pottery Making at Home
- Take Your Time: Rushing can lead to cracks or weak spots in your clay. Drying and shaping require patience.
- Practice Makes Perfect: The more you hand-build, the better your pieces will become. Don’t worry if your first few tries aren’t perfect.
- Experiment with Texture: Press textures into your clay using fabric, leaves, or stamps for unique designs.
- Use Slip Generously: Proper scoring and slipping will keep parts of your piece connected and prevent breakage.
Conclusion
Hand-building pottery at home without a kiln opens up so many creative possibilities. By learning basic hand-building techniques like pinch, coil, and slab building, and trying out alternative firing methods, you can make beautiful pottery pieces right in your backyard. From forming the clay to firing in a simple pit, each step of the process is an exciting and rewarding way to connect with this ancient art form. Give it a try, embrace the imperfections, and enjoy the journey of crafting pottery by hand!

