How to Make Coil Pots: Techniques for Beginners
Introduction:
Coil pots are one of the simplest and most versatile pottery forms, perfect for beginners learning to work with clay. Unlike using a pottery wheel, hand-building with coils allows you to control the shape, add texture, and make adjustments without too much equipment or experience. It’s an ancient technique that’s as rewarding today as it was thousands of years ago!
In this guide, I’ll walk you through the entire process of making a coil pot, from preparing the clay to creating different shapes and textures. Let’s get rolling and start creating!
What is Coil Pottery?
Coil pottery is the technique of stacking “coils” (long, snake like rolls of clay) to build up the walls of a pot. Each coil is placed on top of the last and can be blended into one another for a smooth look or left visible for a more textured effect. Coil pots are highly customizable, with different shapes, sizes, and patterns. The simplicity of the technique makes it an ideal starting point for beginners.
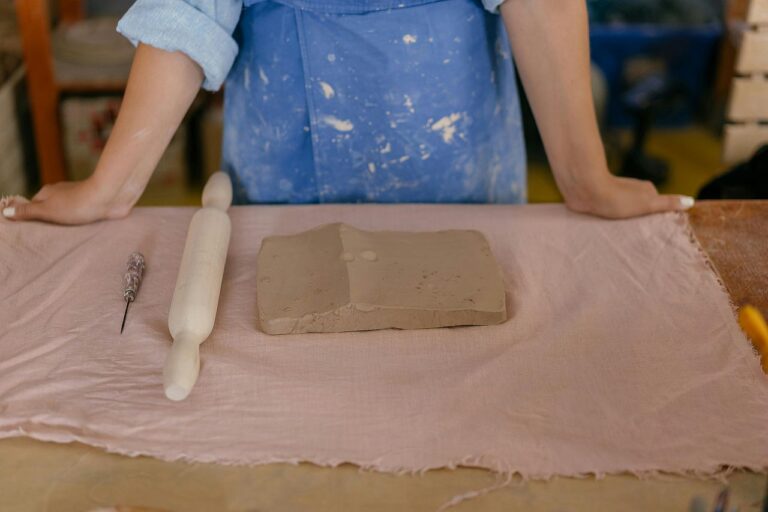
Materials Needed to Make Coil Pots
Before we dive into the steps, gather your materials. Here’s what you’ll need:
- Clay: Any hand-building clay, such as stoneware or earthenware, works well.
- Rolling Surface: Use a flat, non-stick surface like a clay board or silicone mat.
- Water: A small bowl for keeping fingers damp.
- Pottery Tools: A sponge, rib tool, and knife for smoothing and cutting.
- Slip: A slurry of clay and water that acts like glue for joining pieces.
Step-by-Step Guide to Making a Coil Pot
Step 1: Prepare Your Clay
Start by kneading your clay. Kneading removes any air bubbles trapped inside, which helps prevent cracking during drying and firing. Work the clay with your hands until it feels smooth and even. Once kneaded, divide a portion to create the base of your pot.
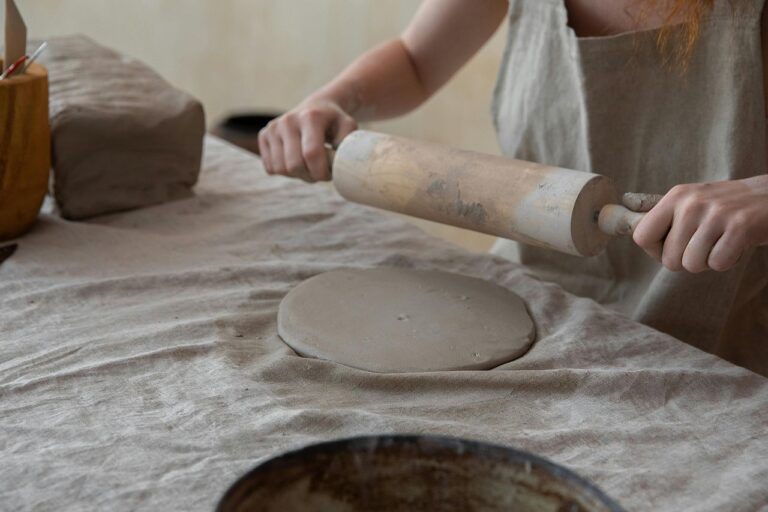
Step 2: Create the Base
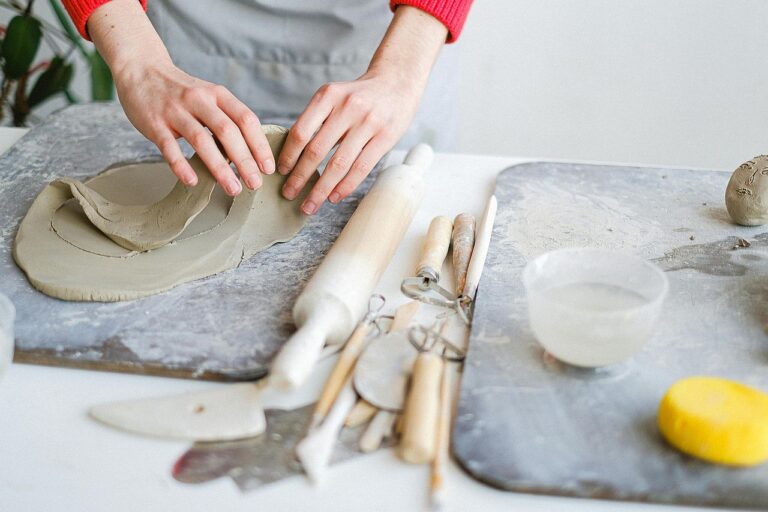
Roll a ball of clay, then flatten it into a circle about ¼ inch thick. This will be the base of your pot, so take your time to get a smooth, even surface. You can use a small plate as a template to guide the shape. Smooth the edges with a damp sponge to avoid rough spots.
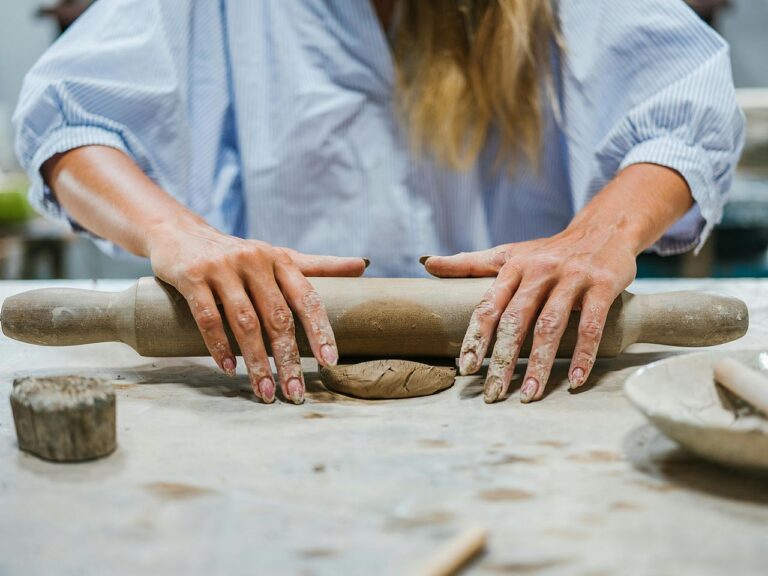
Step 3: Roll Your First Coil
Grab a small piece of clay (about the size of a marble) and roll it between your hands to create a thin, snake-like coil. Place it on a flat surface and roll it back and forth with even pressure until it’s about ¼ inch thick. Avoid making it too thin or too thick, as this can cause weak spots in the pot.
Step 4: Attach the First Coil to the Base
Score (scratch) the edge of the base and the bottom of your coil where they’ll connect. Apply a small amount of slip to both scored surfaces, then press the coil onto the base. This helps create a strong connection. Once attached, blend the coil into the base using your finger or a rib tool.
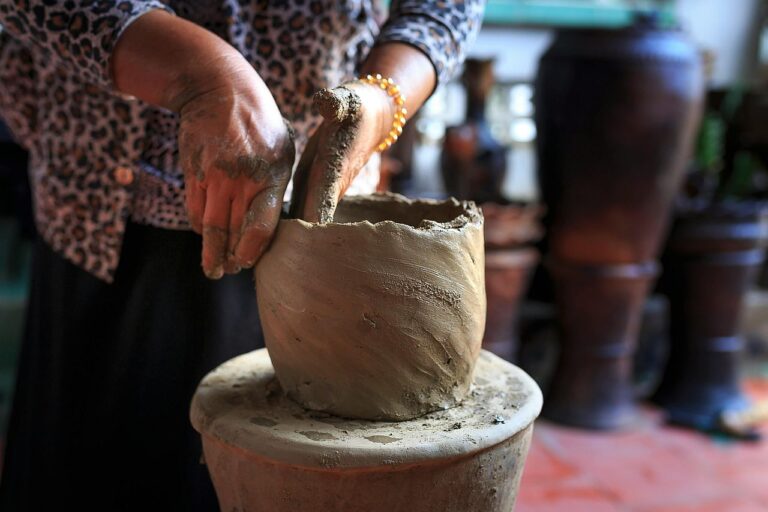
Step 5: Build Up the Walls
Now that the base is set, it’s time to add more coils! Keep rolling and adding coils one at a time, stacking them in a spiral motion. Each time you add a new coil, score and apply slip between the layers to ensure they stick. You can blend the coils on the inside of the pot for added strength, while leaving the outside textured for a more rustic look.
Step 6: Shape and Refine the Pot
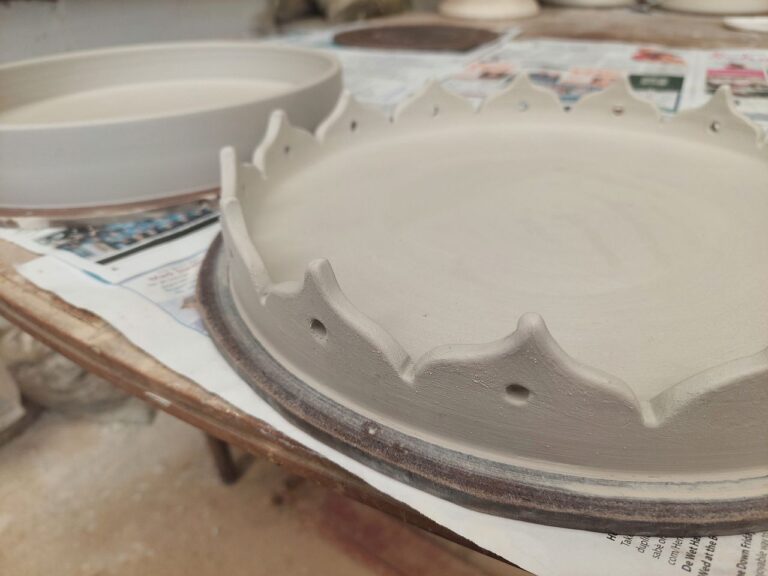
As you build, start shaping your pot by adjusting the placement of each coil. If you want a bowl-like shape, place each coil slightly inward; for a taller, straight shape, stack them directly on top of each other. This is the fun part where you can experiment with form and design, creating anything from a simple cup to an elegant vase.
Step 7: Smooth and Finish
Once you reach the height and shape you want, it’s time to smooth and refine your pot. Use a damp sponge or rib tool to smooth out any rough spots and blend coils as needed. If you like the visible coil look, you can leave them as they are for a unique texture. For a seamless finish, blend the coils fully and smooth the outside surface.
Tips for Rolling and Joining Coils
Rolling and attaching coils can be challenging at first, but these tips will help you master the technique:
- Use Gentle Pressure: Too much pressure can flatten the coil or make it uneven. Roll gently and keep your hands light.
- Even Coils: Try rolling from the center of the coil outward, which helps you achieve a more consistent thickness.
- Score and Slip: This step is crucial for keeping the coils attached. Without scoring and slipping, coils may separate as they dry.
- Blend for Strength: Blending coils inside the pot strengthens the walls and adds stability.
Common Coil Pottery Mistakes and How to Avoid Them
As with any skill, learning to make coil pots comes with a few challenges. Here are some common mistakes beginners make and how to avoid them:
- Coils Separating: If your coils aren’t sticking, you may need to score and slip more thoroughly. Always make sure the connection is secure before moving to the next coil.
- Uneven Walls: Uneven thickness can lead to cracking or warping during drying. Keep a rib tool handy to smooth and check the wall consistency as you go.
- Using Too Much Water: Excess water makes the clay soft and hard to shape. Only dampen your fingers or sponge slightly.
Experimenting with Coil Pot Shapes and Designs
One of the best aspects of coil pottery is the room for creativity! Here are a few ways to customize your pots:
- Add Texture: Try pressing textures like leaves, fabric, or stamps onto the clay for unique designs.
- Shape Variations: Adjust the angle of each coil to create narrow, wide, or asymmetrical shapes. Slightly pushing or pulling coils in or out as you build creates organic, natural shapes.
- Color and Finish: Once the pot is dry, you can add colored slip or underglaze for a decorative touch before firing. Glazing also adds durability.
How to Dry and Fire Your Coil Pot
Proper drying and firing are crucial to prevent cracks and make your pot strong enough for everyday use.
Drying Your Coil Pot
Dry your pot slowly to avoid cracks. Cover it loosely with plastic or a damp cloth and let it dry in a cool place. Depending on the size, drying can take several days to a week. For even drying, you can rotate the pot every few hours as well but that’s just if you feel like being extra careful.
Firing Your Coil Pot
Once your pot feels completely dry (known as “bone dry”), it’s ready for firing. If you don’t have a kiln, look into local studios or pottery classes that offer firing services. Firing temperatures vary depending on the clay type, so check your clay’s instructions for the ideal range.
Conclusion
Making coil pots is an exciting and fulfilling pottery technique. With just a few tools and materials, you can create beautiful, functional pieces that showcase your style and creativity. The more you practice, the better you’ll get at rolling, shaping, and refining your pots. Embrace the process, have fun, and enjoy creating unique pieces by hand. Happy potting!