The Different Types of Hand-Building Techniques in Pottery
Introduction:
Did you know there are three main hand-building techniques in pottery, each with its own unique style and benefits? Whether you’re just starting out or looking to refine your skills, understanding these methods opens up endless possibilities for creating beautiful and functional pottery without needing a wheel.
Hand-building is a time tested, versatile technique that’s ideal for beginners and experienced potters alike. In this guide, we’ll dive into the pinch, coil, and slab techniques, breaking down what makes each method special, the pros and cons, and which projects each is best suited for. Ready to get your hands into some clay? Let’s explore these techniques one by one!
What is Hand-Building in Pottery?
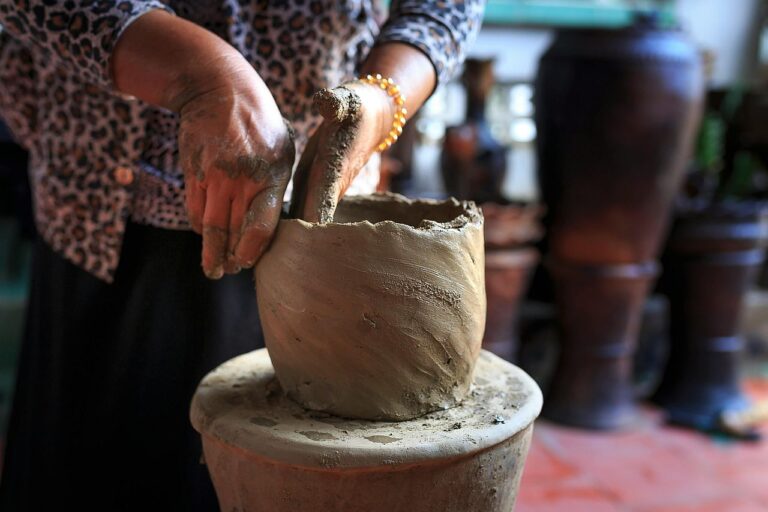
Hand-building is the process of shaping clay manually, without the use of a pottery wheel. This method allows for a more hands on, tactile approach, letting you mold and sculpt the clay into various shapes with tools as simple as your hands, a knife, or a rolling pin. Unlike wheel throwing, which is often symmetrical and uniform, hand-building offers flexibility and room for creativity, making it especially popular with beginners.
Hand-building has been used for thousands of years and continues to be a foundational skill in pottery. If you’re interested in trying pottery from home or just want to experiment without investing in a wheel, hand-building is an excellent place to start. Below, we’ll break down the three main hand-building techniques: pinch pots, coil building, and slab building.
Pinch Pot Technique
What is the Pinch Pot Technique?
The pinch pot technique is one of the oldest and simplest hand-building methods, perfect for small, round forms like bowls and cups. It involves using your fingers to pinch and shape a ball of clay into a hollow form. For beginners, this technique is a fantastic introduction to working with clay since it doesn’t require any additional tools and relies entirely on hand movements.
Step-by-Step Guide to Making a Pinch Pot
- Start with a ball of clay that fits comfortably in your hand, about the size of a lemon.
- Press your thumb into the center of the clay, creating an indentation.
- Using your fingers and thumb, begin pinching the walls of the pot, rotating the piece as you go to maintain even thickness.
- Continue shaping and smoothing until you have a small bowl shape. If any cracks appear, add a touch of water and smooth them out.
Tip: Pinch pots can be tricky at first, but keep going! The more you practice, the more consistent and symmetrical your shapes will become.
Best Projects for the Pinch Pot Technique
Pinch pots are great for making small items like bowls, cups, and decorative pieces. If you’re just starting out, aim for simple shapes and gradually work toward more intricate designs as you gain confidence.
Pros and Cons of the Pinch Pot Technique
- Pros: Easy to learn, requires no additional tools, and is great for small, functional pieces.
- Cons: Limited to smaller items, and the shape can become uneven if the walls are too thin.
Coil Building Technique
What is the Coil Building Technique?
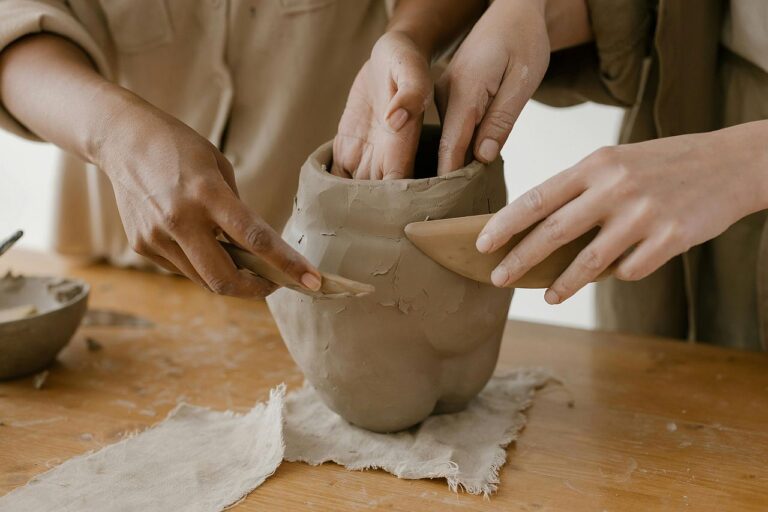
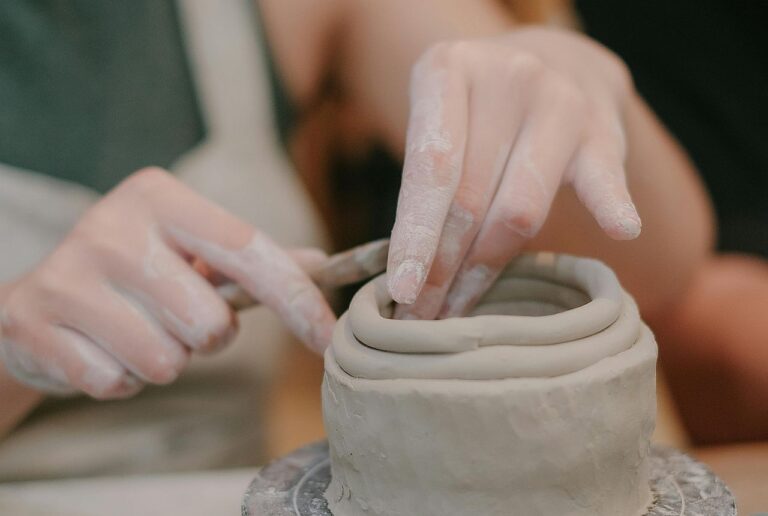
The coil building technique involves rolling clay into long, rope like coils, stacking them, and joining them together to form pottery. Coil building is ideal for larger and more complex shapes, as you can easily adjust the height and thickness by adding more coils. This method gives you a lot of control over the shape and structure, making it popular for pieces like vases and planters.
Step-by-Step Guide to Making a Coil Pot
- Start by rolling out long, even coils of clay. Aim for coils that are consistent in thickness for a more balanced shape.
- Form a spiral with the first coil to create the base of your pot.
- Stack additional coils on top, pressing and blending them together as you go. Use a damp sponge to smooth the inside and outside as needed.
- Continue building and shaping your piece until it reaches the desired height and shape.
Tip: To keep your coils from cracking or separating, keep them moist and smooth them together as you build.
Best Projects for the Coil Building Technique
Coil building is well-suited for creating medium to large pieces, such as planters, vases, and decorative bowls. This technique allows you to create tall, organic forms that are difficult to achieve with other methods.
Pros and Cons of the Coil Building Technique
- Pros: Great for larger pieces, allows for customizable shapes, and is versatile.
- Cons: Requires patience to maintain even thickness, and it can take time to get smooth, blended edges.
Slab Building Technique
What is the Slab Building Technique?
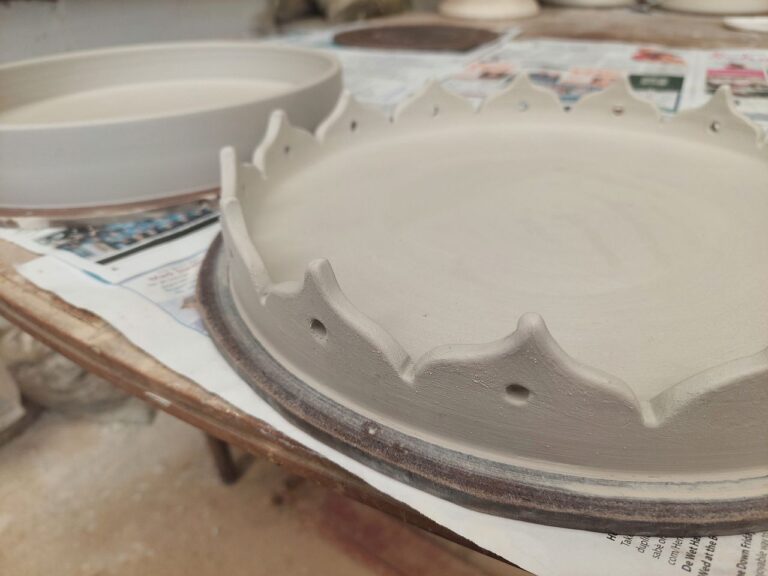
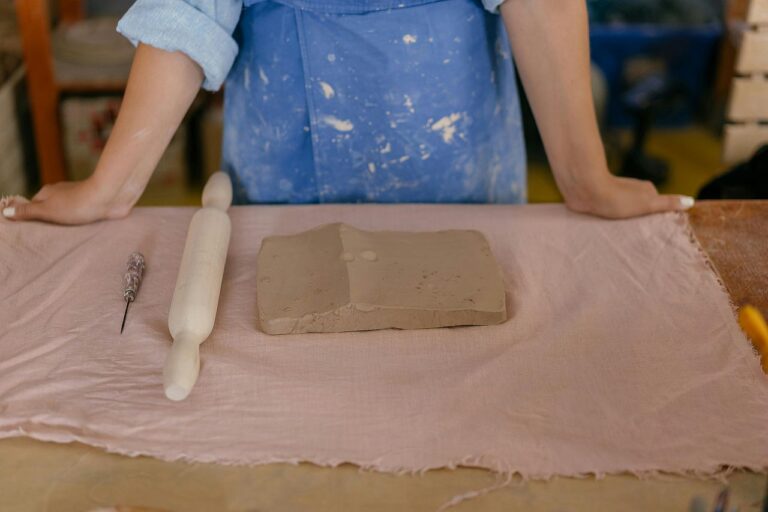
The slab building technique involves rolling out flat sheets, or “slabs,” of clay, which can then be cut, shaped, and joined together to form pottery. This technique is especially useful for creating angular or flat-walled pieces, like boxes and plates. Slab building also offers room for adding texture and patterns to your pottery, making it a favorite among decorative potters.
Step-by-Step Guide to Creating a Slab Pot
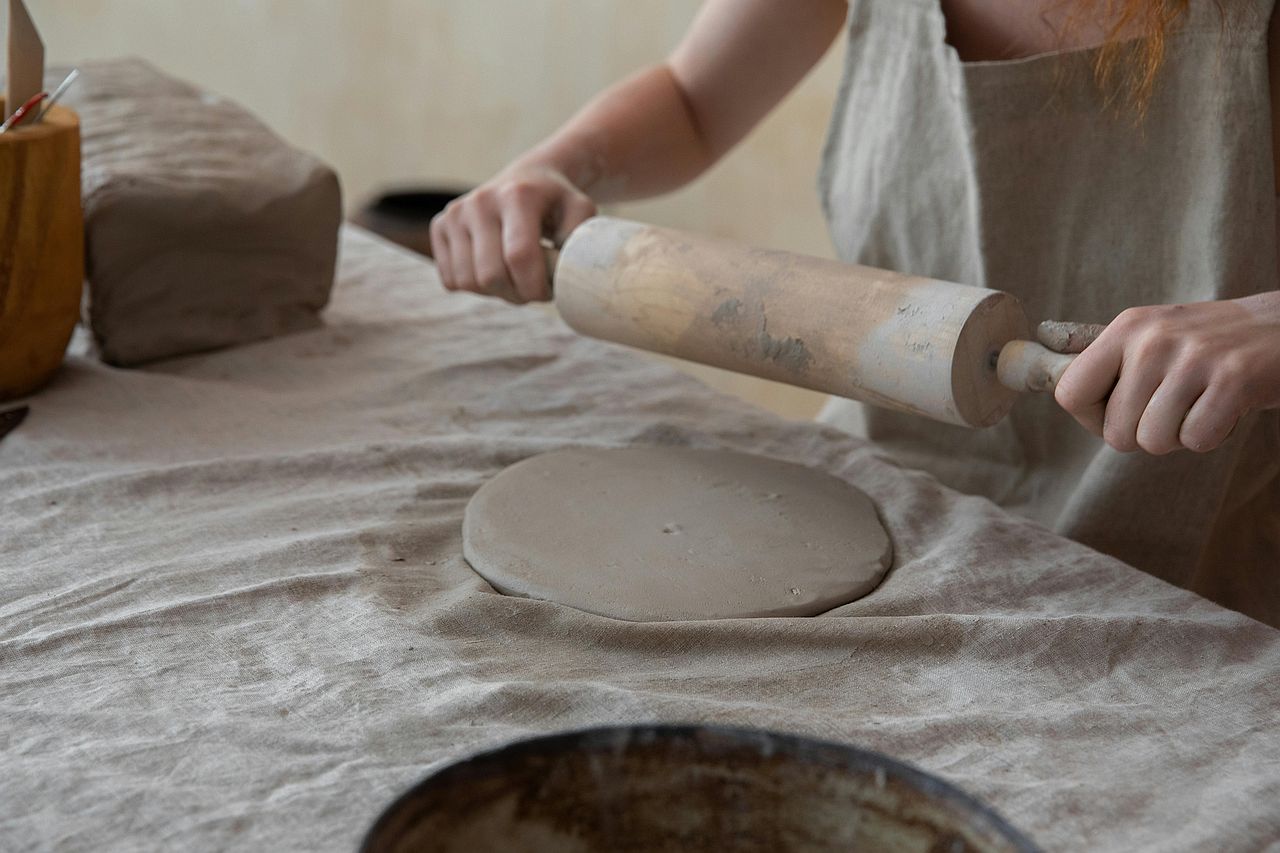
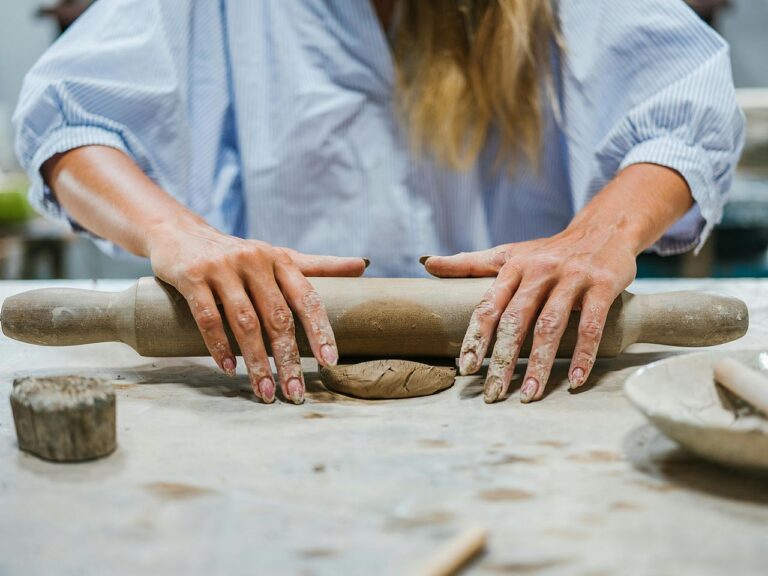
- Roll out a slab of clay to a consistent thickness using a rolling pin or slab roller.
- Cut out the desired shapes for your project, such as a base and four sides for a box.
- Use slip (a clay and water mixture) to join the slabs together, pressing firmly to ensure a secure bond.
- Smooth the edges and seams with a sponge or pottery rib to create a polished finish.
Tip: Allow slabs to dry to a “leather-hard” stage before assembling; this helps prevent warping and makes it easier to work with.
Best Projects for the Slab Building Technique
Slab building is ideal for creating pieces with flat sides, such as trays, boxes, and plates. It also works well for decorative wall hangings, where you can imprint patterns onto the clay.
Pros and Cons of the Slab Building Technique
- Pros: Excellent for structured forms, easy to add textures and patterns, and highly versatile.
- Cons: Slabs can crack if they dry unevenly, and it requires patience to get smooth, even shapes.
Choosing the Right Technique for Your Project
Choosing the right hand-building technique often depends on the type of project you have in mind. For instance:
- Pinch Pots: Great for small bowls, cups, and quick projects.
- Coil Building: Perfect for larger, taller pieces like planters and vases.
- Slab Building: Ideal for structured, flat-walled pieces like boxes, plates, and trays.
If you’re feeling adventurous, try combining techniques! For example, you could create a coil built vase with a slab base or use a pinch pot as the starting point for a larger coil structure. As you practice, you’ll find which techniques you enjoy most and which work best for your creative goals.
Conclusion
Each hand-building technique brings its own set of creative possibilities, whether you’re making simple pinch pots, intricate coil built forms, or structured slab built pieces. The beauty of hand-building pottery lies in its versatility and the hands on connection you form with each piece. So, grab some clay, try out these techniques, and see where your creativity takes you.

