Understanding Slab Building for Pottery Beginners
Introduction
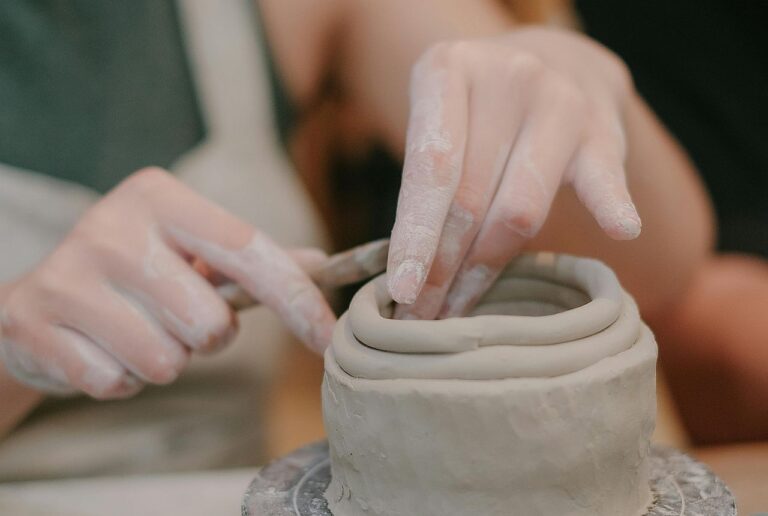
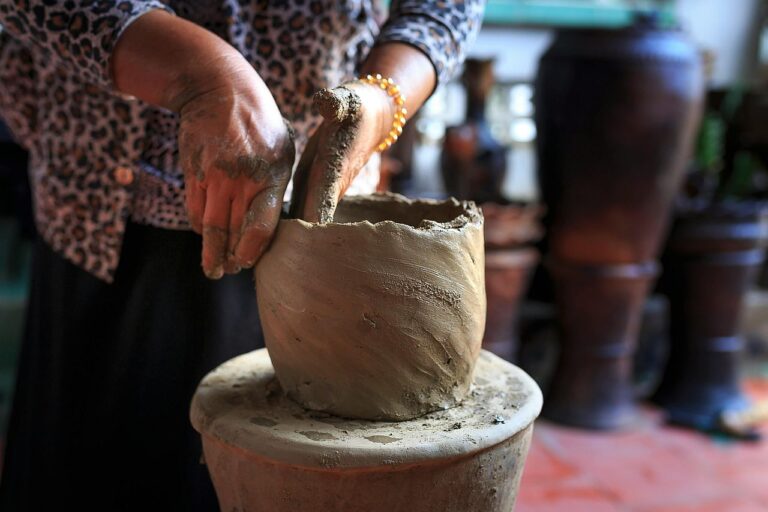
If you’re new to pottery and want to try a technique that allows for lots of creative freedom and interesting shapes, slab building might be perfect for you. This technique lets you roll out flat sheets (or slabs) of clay, cut them into shapes, and assemble them into everything from simple dishes to intricate sculptures. Slab building is an accessible, beginner friendly method that gives you a ton of options for hand-built pottery. So, let’s dive into the basics of slab building and how to get started with this fun and versatile pottery technique!
Materials Needed for Slab Building
Before you start, gather these basic materials to make the slab-building process easier:
- Clay: Earthenware or stoneware clay works well for beginners. Air dry clay is also a good option if you don’t plan to fire your pieces.
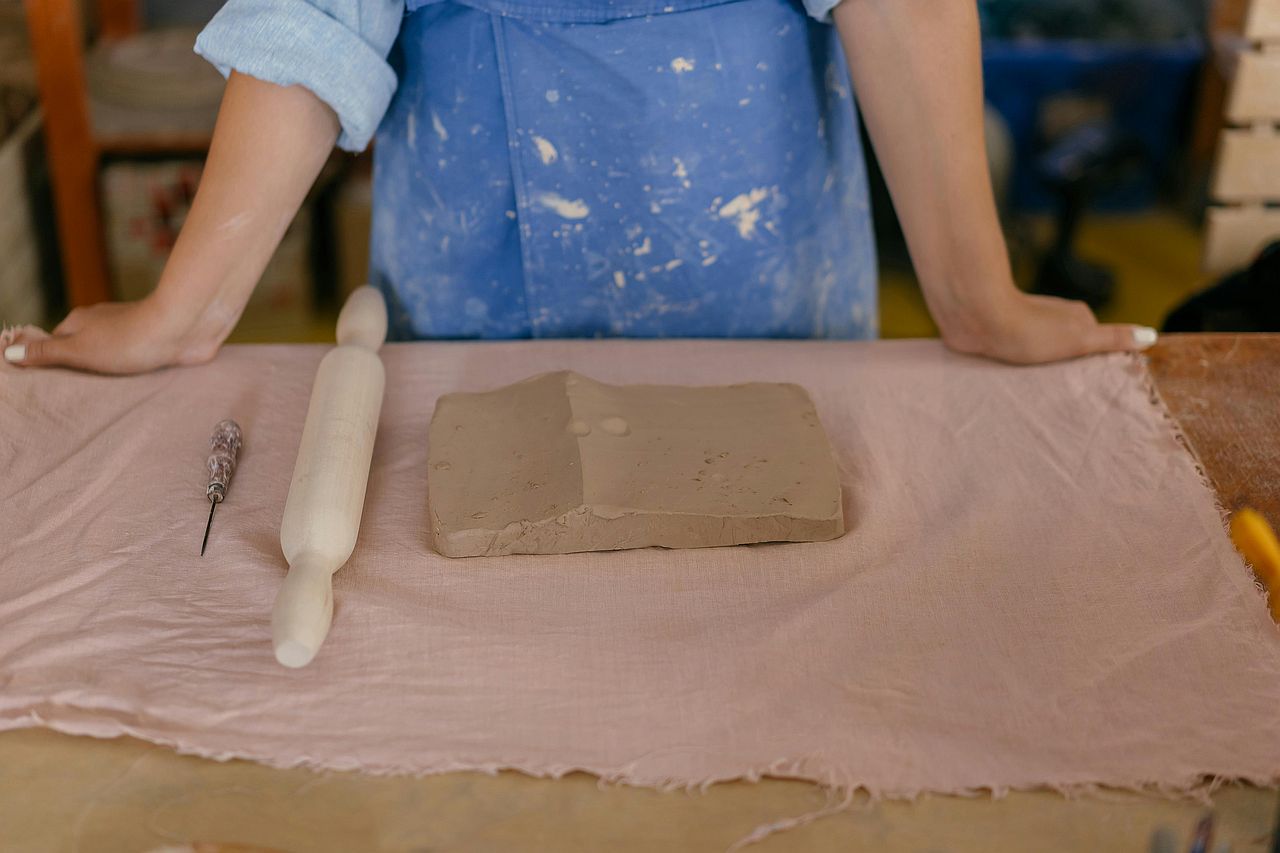
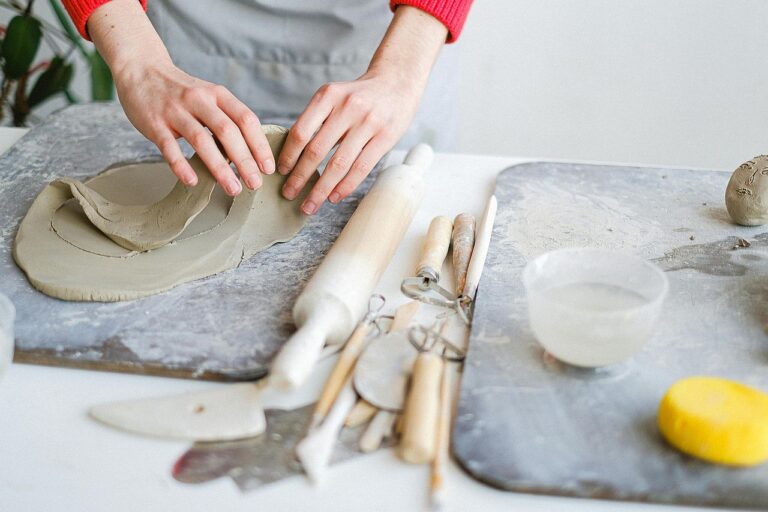
- Surface Mat: Use a non stick mat, canvas board, or even a wooden board to roll out your clay.
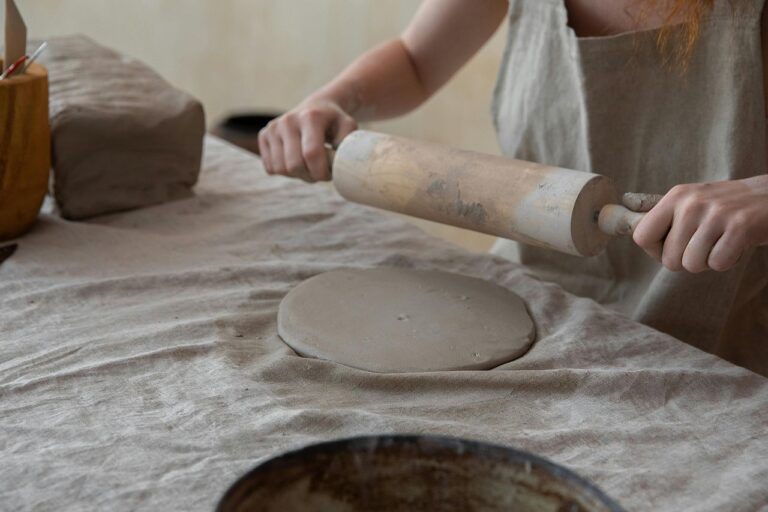
- Rolling Pin: A standard rolling pin will help you create even slabs.
- Cutting Tools: A clay knife or even a butter knife is useful for cutting out shapes. Pottery needle tools are also helpful for detailing.
- Slip: A clay and water mixture that acts like glue to join pieces.
- Scoring Tool: This could be a fork or any tool with a pointed edge for scratching up the clay surface where you want to join slabs.
- Sponge and Water: For smoothing edges and keeping the clay workable.
Step-by-Step Guide to Slab Building
Step 1: Preparing the Clay
To begin, you’ll need to knead or “wedge” your clay. This step ensures the clay is free from air bubbles, which can weaken it. Knead the clay by pushing it with the heels of your hands, folding it over, and repeating until it’s smooth. If you’re using air dry clay, follow the same steps but avoid overworking it, as air-dry clay can become too dry and hard to shape.
Step 2: Rolling Out Your Slabs
Once your clay is ready, it’s time to make the slabs:
- Flatten the Clay: Place the clay on your surface mat and press it flat with your hands. Aim for a starting thickness of about ½ inch.
- Roll Evenly: Use a rolling pin to roll the clay out to about ¼ inch thick. Move the rolling pin in different directions for an even slab. Some potters use thickness guides (like two rulers) on either side of the clay to keep the slab even.
- Lift Occasionally: Lift the slab gently as you roll to prevent sticking. If it sticks, add a bit of cornstarch or sprinkle flour to reduce friction.
Step 3: Cutting and Shaping Your Slabs
Now that you have a flat slab, you can start cutting out shapes for your project. Here are some popular slab-building projects to get you started:
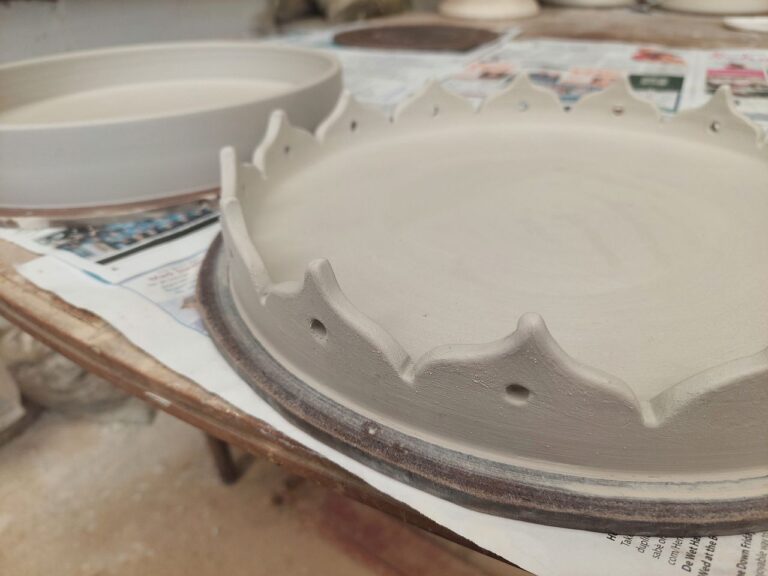
- Simple Trays or Plates: Use a paper template or just freehand cut shapes like circles, rectangles, or ovals for dishes and trays.
- Mugs or Vases: Cut out a rectangular slab, then wrap it into a cylinder to form the body of a mug or vase.
- Boxes or Containers: Cut squares or rectangles, then join them together to create a cube or rectangular box.
For each project, cut out the desired shape, keeping edges as even as possible. If you’re making multiple pieces (like sides of a box), cut them at the same time to ensure they’re uniform in size because as clay loses moisture it also shrinks ever so slightly.
Step 4: Joining Slabs Together
To join two slabs, you’ll need to score and slip the edges:
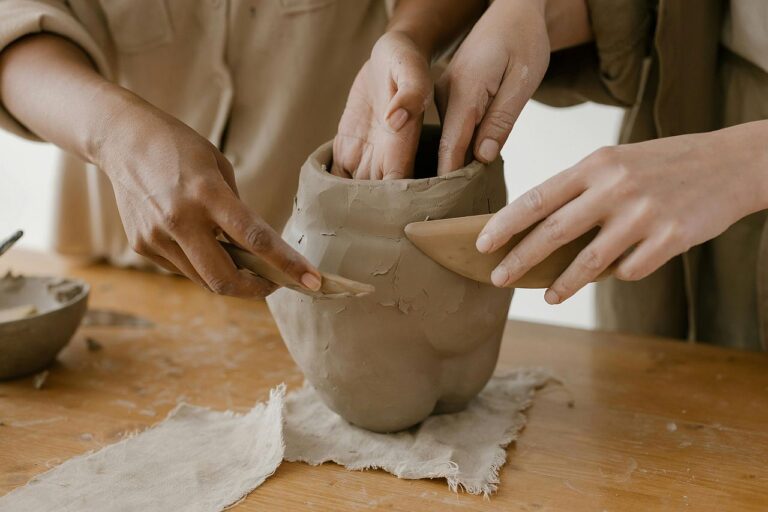
- Score the Edges: Use a scoring tool (or even a fork) to scratch up the clay where you plan to join pieces. This roughens the surface, allowing for a stronger connection.
- Apply Slip: Add a little slip to the scored areas, using it as a glue.
- Press Together Firmly: Align the slabs and press them together at the scored and slipped areas. Use your fingers or a blending tool to smooth over any visible seams.
Once joined, check for any gaps and smooth out the edges with a sponge. This helps make the connection even stronger and gives your piece a clean, finished look.
Creative Ideas and Tips for Slab Building
Experiment with Textures
Slab building offers lots of opportunities to add texture to your pottery. Try pressing different items (like leaves, lace, or stamps) into the clay surface before cutting and assembling. Textures bring unique character to your pieces and can make even the simplest shapes stand out.
Add Handles and Feet
If you’re making items like mugs or trays, you can add handles or feet to make them more functional. Roll a small coil of clay for a handle, or cut out small shapes to attach as feet. Remember to score and slip these add ons to ensure they attach securely.
Use a Template
Templates are a helpful way to create shapes that will fit together perfectly. You can make a template out of cardboard or thick paper. For instance, a simple rectangular template can be used for creating even sides for a box, or a circular one for plates.
Drying Your Slab-Built Pieces
Clay shrinks as it dries, which can lead to warping. To avoid this, dry your piece slowly by covering it loosely with plastic for the first day. After that, let it dry uncovered in a cool, dry place. For flat pieces like plates, place them on a level surface with parchment or fabric underneath to prevent sticking.
Finishing Your Pottery: Options with and without a Kiln
Once your piece is dry, you have a few options for finishing:
1. Firing in a Kiln
If you have access to a kiln, firing is the best way to make your pottery durable and long lasting. Kiln firing hardens the clay, making it usable for functional items like mugs, bowls, and plates.
2. Air-Dry Finishing
For beginners without a kiln, air dry clay is a great choice. Although air dry pieces won’t be as strong as kiln fired pottery, they’re perfect for decorative objects. You can paint them with acrylics or other non toxic paints. Apply a coat of clear varnish to seal and protect the surface.
3. Alternative Firing Methods
For those wanting to experiment, try pit firing or raku firing if you have the space and materials. These methods are less common for beginners but can give stunning, rustic effects to pottery pieces. Remember to take precautions and follow fire safety guidelines if you try these methods.
Troubleshooting Common Slab-Building Challenges
- Cracking: If your clay is cracking, it might be too dry. Keep a small bowl of water nearby to dampen your hands and keep the clay moist.
- Warping: Warping happens when clay dries unevenly. Keep your pieces on a flat surface and dry them slowly to prevent this.
- Weak Joints: If joints aren’t holding, double check that you’re scoring and applying enough slip before pressing the slabs together. This will improve the bond between pieces.
Conclusion
Slab building is a fantastic technique for pottery beginners, offering endless possibilities to create everything from functional pieces to unique art. By learning to roll, cut, and join slabs, you’re taking the first steps into the world of hand-built pottery. Whether you’re making trays, vases, or decorative pieces, slab building lets you bring your ideas to life with a few basic tools and some clay. Enjoy the process, experiment with textures, and let your creativity shine as you discover the joy of slab building!
